“Make the pouch more enhancing” is a useful creative direction, but it is not yet a production brief. An enhancing result can come from pattern volume, lift direction, internal support, seam placement, elastic control or a combination of these. If the brand specifies only the label, the factory must guess which mechanism matters most.
A good brief defines the intended visual effect, the required support and comfort, the reference baseline, the allowed construction routes and the evidence needed to approve the sample. This guide shows what to send an enhancing pouch underwear manufacturer before development starts.
First define what “enhancing” should do
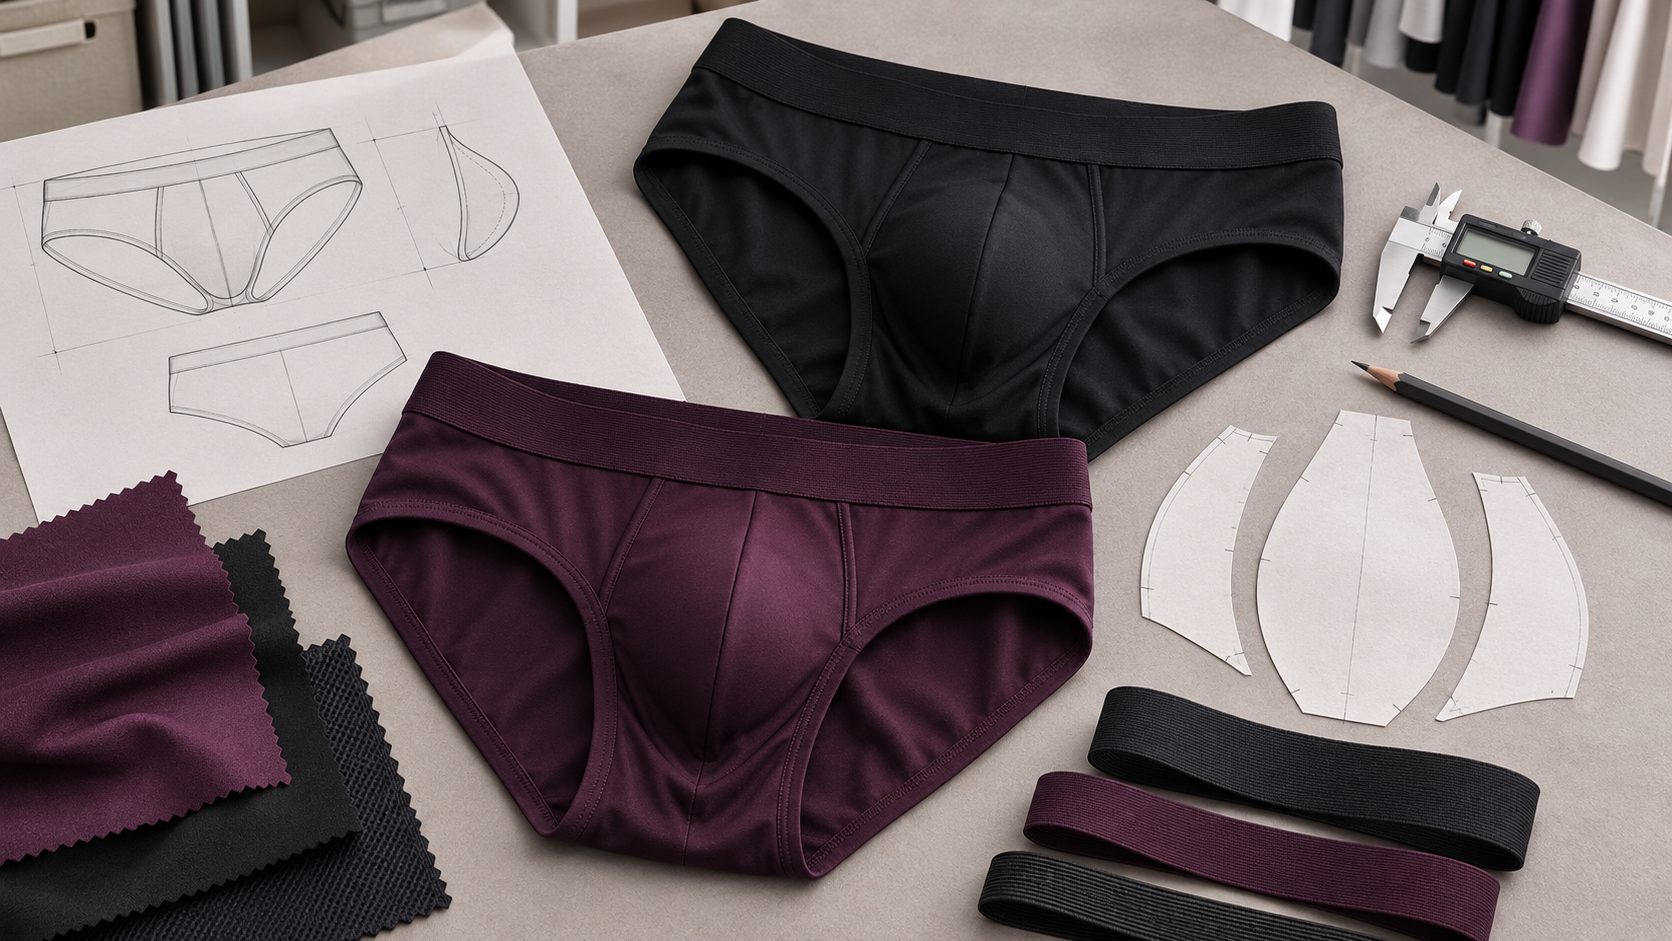
Enhancement is not one universal fit. Before discussing seams or panels, state the intended direction in plain language:
- Forward projection: a more pronounced front profile rather than compression toward the body.
- Upward lift: support that raises the carried position without relying on excessive tightness.
- Centered presentation: controlled placement that reduces lateral spread.
- Defined outline: a cleaner visual boundary created by shaping, material contrast or panel geometry.
- Natural support: visible shaping with less aggressive lift or separation.
Rank these outcomes. A sample cannot optimize every direction equally, and “maximum enhancement” is not a measurable approval criterion. Also state what must not happen: visible padding, hard edges, excessive compression, shifting during movement or an overly anatomical appearance.
The minimum enhancing-pouch brief
The following information gives the development team enough context to propose a pattern and sample route.
| Brief section | What the brand should provide | Why it matters |
|---|---|---|
| Target user and style | Product type, rise, coverage, size range and intended market position | The pouch must work with the whole garment, not as an isolated component |
| Effect direction | Projection, lift, centering, definition and the priority order | Separates the desired result from a generic “3D pouch” label |
| Reference baseline | Current sample, approved competitor reference or previous block, with specific liked and disliked features | Creates a comparison point without asking the factory to copy a product |
| Construction freedom | Required and prohibited elements, plus areas where the manufacturer may propose alternatives | Allows development without silently changing the brand intent |
| Material direction | Main fabric, lining, mesh, elastic and hand-feel requirements | Stretch and recovery affect both shape and support |
| Approval evidence | Required sizes, fit views, movement checks and inside-construction photos | Makes sample approval repeatable |
Use references as evidence, not as the whole specification
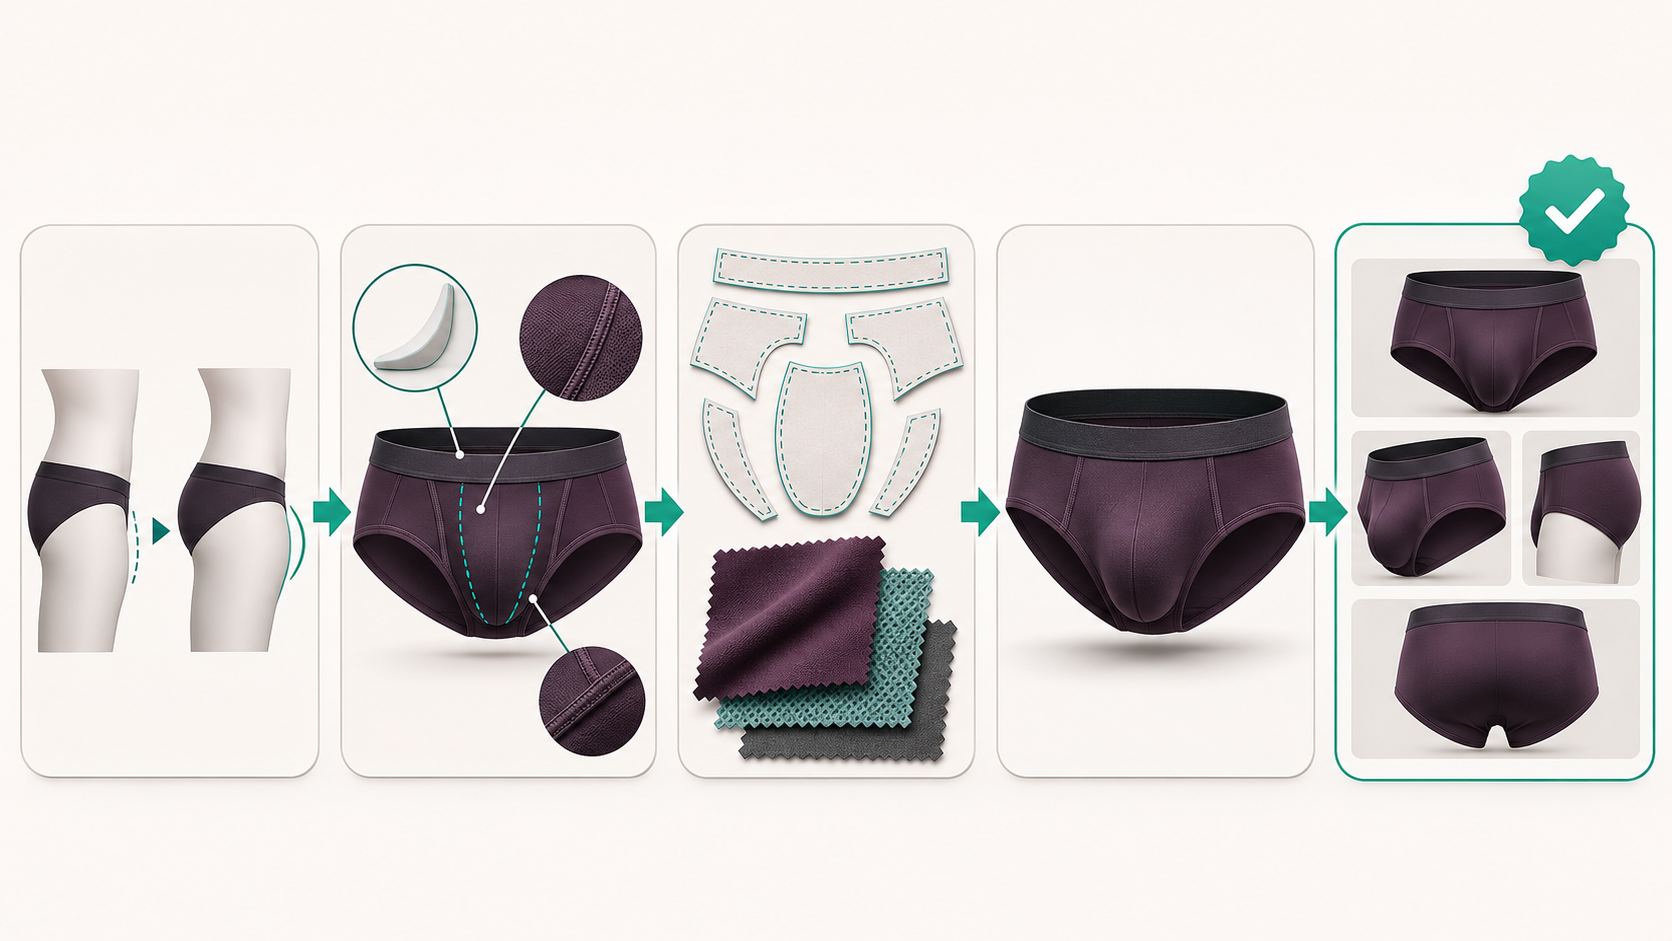
A reference garment or image is useful when every annotation explains what to observe. Mark the front profile, carried position, seam visibility, edge pressure, lining coverage and how the garment behaves when sitting or moving. If the reference is a product photo, state that photography, posing and styling may exaggerate the effect.
Do not ask a manufacturer to “make this exact pouch” from one front-view image. The inside construction, material recovery and side profile are missing. A physical reference should also be accompanied by the wearer size, garment size and the features that should change.
If the project is still choosing between contoured, anatomical and enhancing directions, use the pouch-type production comparison before locking the brief.
Specify the effect, then allow a construction proposal
The brand should control the outcome and key restrictions, while the pattern team proposes how to achieve it. Possible routes include shaped front panels, darts, a center or offset seam, an inset support panel, a sling-like layer, localized elastic or a reduced-seam structure. The appropriate route depends on the fabric, coverage, rise, size range and desired visual strength.
State whether internal components may be visible, whether the front must remain smooth, and whether padding is prohibited. If a support layer is allowed, define its coverage, softness and edge behavior rather than assuming that “double layer” automatically creates lift.
For detailed measurement control, use the separate guide to specifying pouch depth and volume in a tech pack. For line placement and inside comfort, review the pouch seam placement guide. Those specifications support this brief; they do not replace its visual and functional priorities.
Material and edge control belong in the brief
Two patterns cut in different fabrics can produce different projection and support. Record the main fabric composition direction, weight or approved quality, stretch direction, recovery expectation and surface opacity. If the pouch uses mesh, contrast lining or a different stretch zone, identify each layer separately.
Edge control requires equal attention. Elastic or binding can help stabilize the pouch, but excessive force can create pressure, visible ridges or distortion. Ask the manufacturer to document the proposed elastic type, placement and application method for the sample. Final settings should be confirmed through development rather than treated as universal values.
Plan grading before approving the base size
An enhancing base-size sample can look convincing while the size range fails. Tell the manufacturer which dimensions may grow, which visual effect should remain stable and which areas require size-specific review. Pouch depth, opening, front rise, support-layer position and elastic length may not scale by the same percentage.
Approve the base size only after the intended size range is known. Then request at least the development sizes needed to judge the lower and upper ends of that range. The exact sample set is project-specific, but the grading logic should be visible before bulk approval.
Build a sample approval protocol
Review the sample against the brief, not against memory. A useful approval sheet includes:
- Front, side and three-quarter views under consistent lighting.
- Inside and outside construction photos.
- Relaxed and worn observations for the approved wearer and garment size.
- Standing, sitting and controlled movement checks.
- Comments on projection, lift, centering, edge pressure, seam sensation and stability.
- A revision table that identifies pattern, material or construction changes separately.
Do not approve a sample only because the front photo looks stronger. Check whether the support remains comfortable, whether the pouch returns after stretch, whether the edges stay flat and whether the garment still aligns at the waist and leg openings.
Common briefing mistakes
- Using marketing labels as specifications: “bulge,” “3D” or “push-up” does not identify the construction or approval target.
- Leaving the manufacturer to choose the effect: the factory may solve for projection when the brand expected lift.
- Locking a mechanism too early: copying one seam or support layer can prevent a better route for the selected fabric.
- Ignoring the inside: a clean exterior can hide bulky allowances, exposed elastic or uncomfortable intersections.
- Approving one size and one pose: enhancement must be reviewed across the planned range and normal movement.
- Changing several variables without a record: it becomes impossible to know which change improved or damaged the result.
What the manufacturer should return
A capable development response should not be only a price. It should confirm the understood effect, identify open questions, propose a construction route, list the sample materials, flag dependencies and state what evidence will be provided for review. For an ODM-led concept, the response may include alternative architectures; for an OEM project, it should identify any production risk or missing specification before sampling.
SensualForm can support custom pouch structures, pattern development, sampling, fit adjustment and project-specific enhancing concepts through its production network. Final geometry, materials, construction and grading are confirmed through design review and sampling.
Send a brief that can be sampled
Before contacting a manufacturer, prepare the target effect, reference baseline, size range, material direction, required and prohibited features, and sample approval checklist. If some construction decisions remain open, label them as areas for proposal rather than leaving them implicit.
For an OEM or ODM development discussion, review SensualForm’s OEM and ODM process and submit the project through the RFQ form. The first goal is not to promise a universal enhancement result; it is to create a controlled sample that the brand can evaluate and revise.


